Enhancing Textures and Details in Product Photos
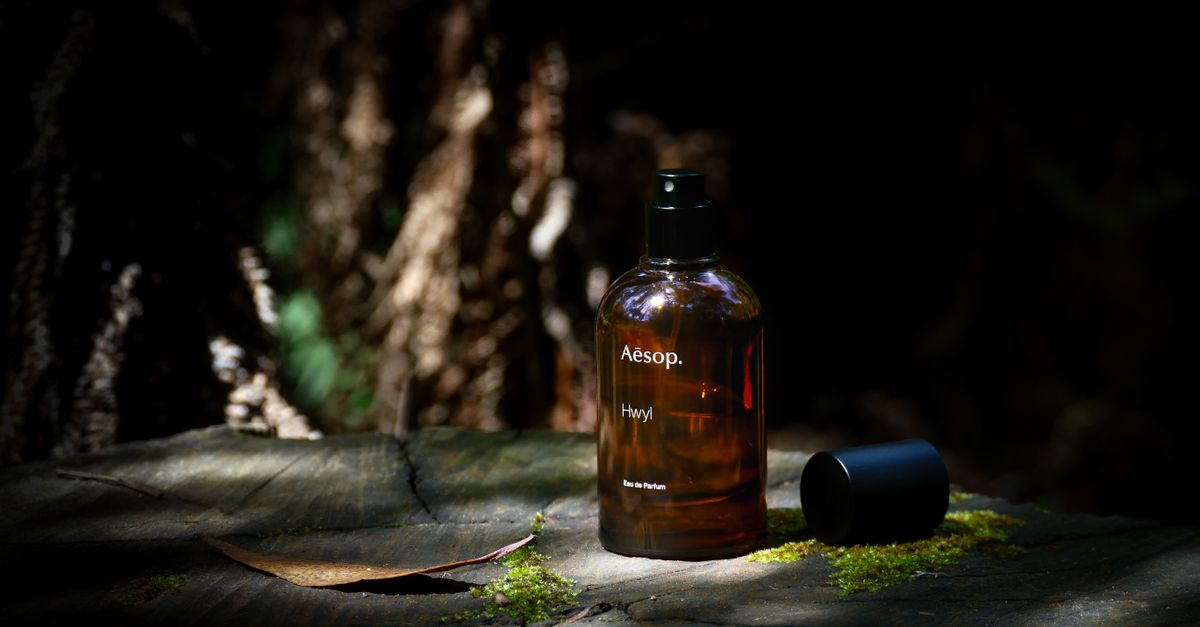
Table Of Contents
Tips for Shooting Different Materials
Capturing the unique qualities of different materials requires a keen eye and careful consideration. When photographing fabrics, it's beneficial to experiment with natural light. This technique highlights the texture and colours, giving depth to the image. Using a diffuser can soften harsh sunlight, creating a more even distribution that enhances the fabric's characteristics. For shiny surfaces like glass or metal, adjusting the angle of your shots can help manage reflections and glare. Positioning the product at a slight angle allows light to catch the surface, revealing intricate details without overpowering the overall image.
When working with wood or stone, emphasising their natural grain is essential. A close-up shot can reveal textures that might be overlooked in wider frames. Adjusting the depth of field can also help, as a blurred background keeps the focus on the product. Incorporating shadows can further accentuate details, adding an artistic touch. Always consider the overall composition and how each material interacts with light. Testing various setups can lead to discovering the most flattering portrayal of your product, ultimately attracting attention and interest from potential viewers.
Techniques for Various Textures like Fabric and Glass
Capturing the intricate details of fabric requires specific techniques to showcase its texture effectively. Lighting plays a vital role; diffused natural light can help avoid harsh shadows that may distort the fabric’s true appearance. Using a macro lens can enhance the details, allowing close-ups of weaves and patterns. Additionally, consider using a flat lay method where the fabric is spread out on a neutral background. This not only highlights the material but also provides context for the product’s usage.
When photographing glass, reflections and refractions can complicate the process. To manage these challenges, positioning the light source carefully is essential. Aiming the light at an angle can minimise reflections while accentuating the glass’s transparency and shine. Using a polarising filter can also help control reflections, revealing the details within the glass. Keeping the background simple ensures that the focus remains solely on the product, allowing its unique qualities to shine through.
The Impact of Angle and Perspective
The angle at which a product is captured significantly influences how textures and details are perceived. Shooting from a lower angle can instil a sense of grandeur, while a higher perspective may provide a comprehensive view of intricate designs. Each angle can highlight different attributes; for example, a side view might accentuate the depth of texture, while a frontal shot can showcase its overall form. Understanding how various angles impact visual storytelling allows photographers to better convey the essence of the product.
Perspective also plays a critical role in demonstrating texture. A close-up can emphasise intricate details and craftsmanship that might otherwise go unnoticed. Conversely, maintaining a certain distance can preserve context, allowing viewers to appreciate the product's place within a broader environment. Experimenting with both proximity and angle can lead to compelling images that narrate a product's story more effectively, engaging potential customers and enhancing their visual experience.
Finding the Best Angle to Showcase Details
Experimenting with different angles can dramatically alter the perception of a product’s details. A straight-on shot may exhibit the design neatly, but exploring a slightly lower or higher perspective can reveal textures often overlooked. Tilting the camera can accentuate the patterns and reflections present in materials like glass or metal, adding depth to the visual storytelling. These adjustments can highlight key features that attract the viewer’s attention.
Lighting plays a crucial role in showcasing details effectively. When shooting from various angles, consider how light interacts with the product. Side lighting can create shadows that emphasise texture, while backlighting can enhance transparency in items like sheer fabric or glass. Understanding how to manipulate these elements alongside your chosen angle can elevate the overall impact of the photograph, drawing potential customers in closer to appreciate the finer details.
Incorporating Props to Enhance Textures
Using props in product photography can significantly elevate the visual appeal of textures. Selecting items that complement the main product helps create a cohesive story. For example, a high-end fabric might be enhanced by a rustic wooden table, adding warmth and depth to the image. Similarly, glass products can be showcased against soft, flowing materials, creating an inviting interplay of reflections and highlights.
When incorporating props, consider their colour and texture in relation to the product. A simple white backdrop can make vibrant colours pop, while earthy tones may bring out the richness of natural materials. The right prop can draw attention to specific features of the product, creating focal points that guide the viewer's eye. Careful arrangement and thoughtful selection make it possible to achieve a more dynamic and interesting photograph, transforming the image into an enticing visual experience.
How Props Can Complement Product Features
Props can significantly elevate the presentation of products by adding context and visual interest. A well-chosen prop can highlight the product's features, draw attention to its materials, and even convey its intended use. For example, a high-end skincare product might be beautifully showcased alongside natural elements like stones or greenery, emphasising a connection to nature. This careful selection creates a richer narrative and enhances the emotional appeal of the product.
Incorporating props also encourages viewers to envision the product in their own lives. A kitchen gadget, for instance, placed amidst a styled countertop with fresh ingredients can inspire potential buyers by illustrating practical applications. The balance between the prop and the product should remain harmonious, ensuring that the latter remains the focal point. Viewed together, they can create a more compelling image that resonates with customers and evokes a desire to own the product.
FAQS
What are some effective tips for shooting different materials in product photography?
To shoot various materials effectively, consider the lighting conditions, use a tripod for stability, and experiment with different settings on your camera. Pay attention to the textures and colours, and try to capture the unique features of each material.
How can I enhance textures in photos of fabrics?
To enhance textures in fabric photos, use natural light to highlight details, shoot with a shallow depth of field to blur the background, and experiment with different angles to showcase the fabric's weave and pattern.
What is the best angle to showcase details in product photography?
The best angle largely depends on the product type, but generally, a slight downward angle works well to highlight details. Try multiple perspectives to find the one that best showcases the product’s features and textures.
Can using props really enhance the texture of my product photos?
Yes, incorporating props can complement and enhance the textures of your product by adding context and dimension. Choose props that reflect the product’s style and use them to create a visually appealing composition that draws attention to the textures.
What are some common mistakes to avoid when photographing textured products?
Common mistakes include not using enough light, failing to clean the product beforehand, neglecting the background, and not experimenting with angles. Ensure you take the time to prepare your setup to capture the best possible images of textured products.
Related Links
Creating Visually Striking Product Compositions in Post-ProductionThe Importance of Retouching in Commercial Product Imagery
Tips for Achieving Consistency Across Product Imagery
Integrating Brand Aesthetics into Post-Production Processes
The Art of Clipping Paths in Product Photography Editing
Utilising Advanced Software for Flawless Image Retouching
The Role of Lighting Adjustments in Photo Enhancements